Render images as HTML, PDF, PNG, and JPEG files Leave feedback
On this page
GroupDocs.Viewer for .NET allows you to load images in various formats and convert them to HTML, PDF, PNG, and JPEG. Incorporate this library into your .NET application (web or desktop) to build your own image viewer.
To start with the GroupDocs.Viewer API, create a Viewer class instance. Pass an image you want to view to the class constructor. You can load the image from a file or stream. Call one of the Viewer.View method overloads to convert the image to HTML, PDF, PNG, or JPEG format. For multipage images (such as TIFF, CDR, DICOM, WebP, and so on), you can specify the pages to render.
GroupDocs.Viewer supports the following image file formats:
- .AI (Adobe Illustrator Artwork)
- .APNG (Animated Portable Network Graphic)
- .BMP (Bitmap Image)
- .CDR (CorelDRAW Image File)
- .CGM (Computer Graphics Metafile)
- .CMX (Corel Presentation Exchange Image)
- .DCM (DICOM Image)
- .DIB (Device Independent Bitmap File)
- .DJVU (DjVu Image)
- .DNG (Digital Negative Image)
- .EMF (Enhanced Windows Metafile)
- .EMZ (Windows Compressed Enhanced Metafile)
- .EPS (Encapsulated PostScript File)
- .FODG (OpenDocument Flat XML Graphics)
- .GIF (Graphical Interchange Format)
- .ICO (Icon File)
- .J2C (JPEG 2000 Code Stream)
- .J2K (JPEG 2000 Image)
- .JP2 (JPEG 2000 Core Image File)
- .JPC (JPEG 2000 Code Stream File)
- .JPEG / .JPG (JPEG Image)
- .JPF (JPEG 2000 Image)
- .JPM (JPEG 2000 Multi-layer Image Format)
- .JPX (JPEG 2000 Image File)
- .JLS (JPEG-LS Image)
- .ODG (OpenDocument Graphics File)
- .OTG (OpenDocument Graphic Template)
- .PCL (Printer Command Language Document)
- .PNG (Portable Network Graphics)
- .PS (PostScript File)
- .PSB (Photoshop Large Document Format)
- .PSD (Adobe Photoshop Document)
- .SVG (Scalable Vector Graphics File)
- .SVGZ (Compressed SVG File)
- .TGA (TARGA Graphics)
- .TIF / .TIFF (Tagged Image File Format)
- .WEBP (WebP Image)
- .WMF (Windows Metafile)
- .WMZ (Compressed Windows Metafile)
GroupDocs.Viewer can detect the image format automatically based on information in the file header.
NoteAll Photoshop-related image formats (AI, PSD, and PSB) currently are not supported by the GroupDocs.Viewer.CrossPlatform.
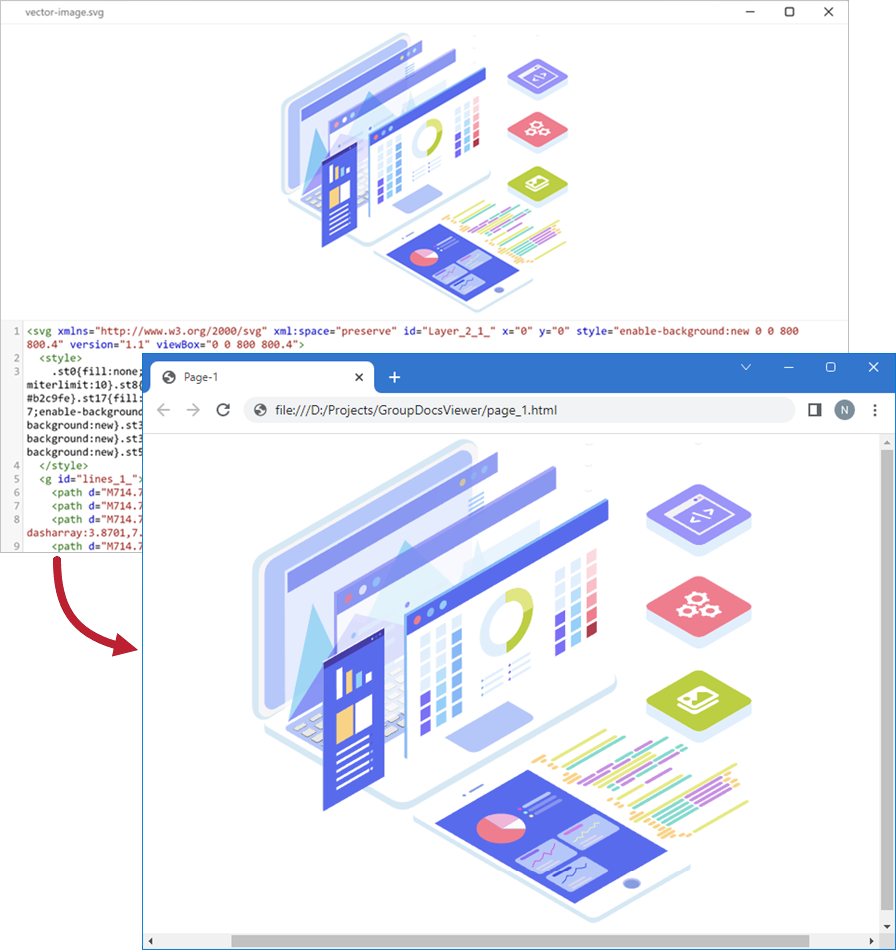
Create an HtmlViewOptions class instance and pass it to the Viewer.View method to convert an image to HTML. The HtmlViewOptions class properties allow you to control the conversion process. For instance, you can embed all external resources in the generated HTML file, minify the output file, and optimize it for printing. Refer to the following documentation section for details: Rendering to HTML.
To embed an image in an HTML page, call the HtmlViewOptions.ForEmbeddedResources method and specify the output file name.
using GroupDocs.Viewer;
using GroupDocs.Viewer.Options;
// ...

using (var viewer = new Viewer("vector-image.svg"))
{
    // Create an HTML file.
    var viewOptions = HtmlViewOptions.ForEmbeddedResources("output.html");
    viewer.View(viewOptions);
}
Imports GroupDocs.Viewer
Imports GroupDocs.Viewer.Options
' ...

Module Program
    Sub Main(args As String())
        Using viewer = New Viewer("vector-image.svg")
            ' Create an HTML file.
            Dim viewOptions = HtmlViewOptions.ForEmbeddedResources("output.html")
            viewer.View(viewOptions)
        End Using
    End Sub
End Module
The following image demonstrates the result:
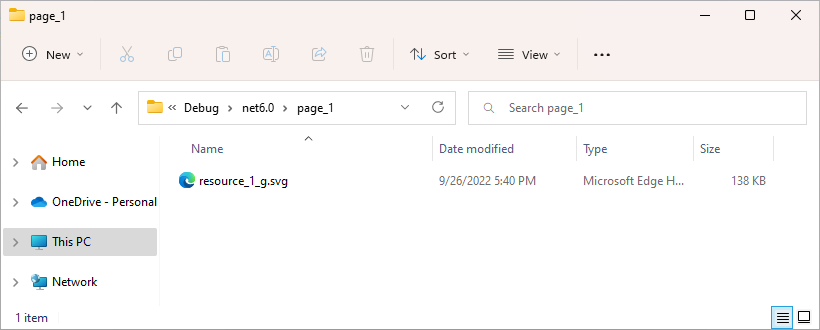
To save an image to a separate folder, call the HtmlViewOptions.ForExternalResources method and pass the following parameters:
- The output file path format
- The path format for the folder with external resources
- The resource URL format
using GroupDocs.Viewer;
using GroupDocs.Viewer.Options;
// ...

using (var viewer = new Viewer("vector-image.svg"))
{
    // Specify the HTML file name and location of external resources.
    // {0} is replaced with the resource name in the output file name.
    var viewOptions = HtmlViewOptions.ForExternalResources("output.html", "output/resource_{0}", "output/resource_{0}");
    viewer.View(viewOptions);
}
Imports GroupDocs.Viewer
Imports GroupDocs.Viewer.Options
' ...

Module Program
    Sub Main(args As String())
        Using viewer = New Viewer("vector-image.svg")
            ' Specify the HTML file name and location of external resources.
            ' {0} is replaced with the resource name in the output file name.
            Dim viewOptions = HtmlViewOptions.ForExternalResources("output.html", "output/resource_{0}",    "output/resource_{0}")
            viewer.View(viewOptions)
        End Using
    End Sub
End Module
The result is shown below. The image is placed in a separate folder.
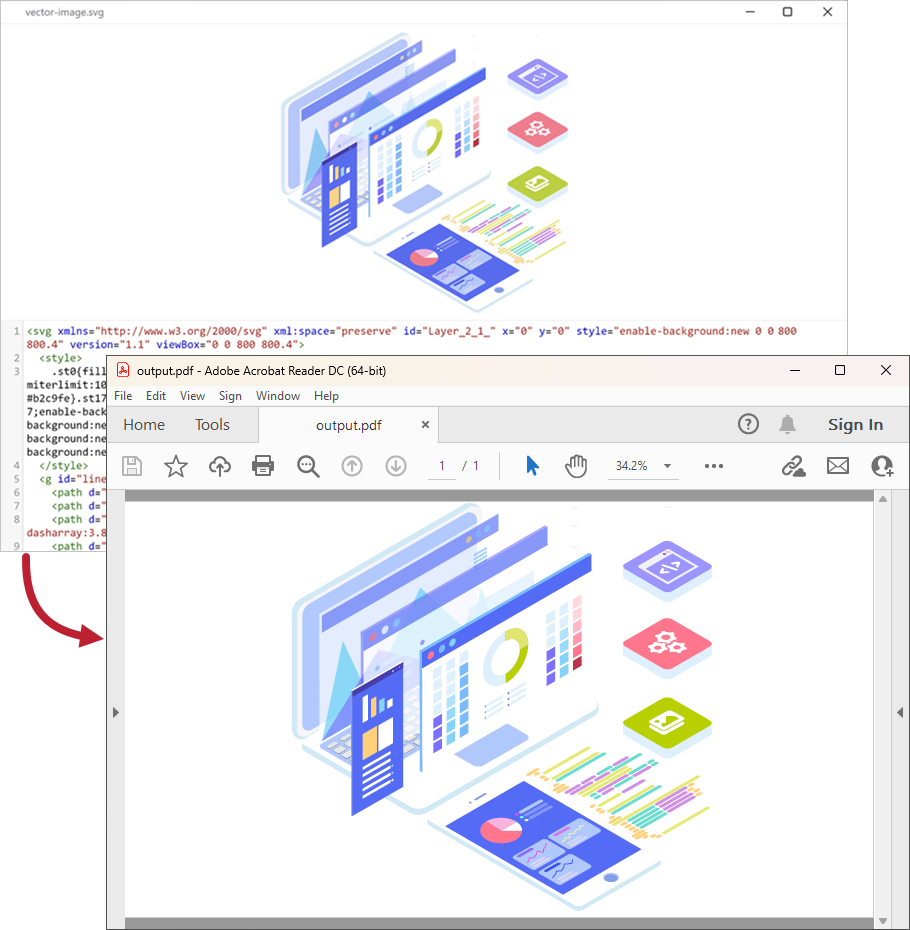
Create a PdfViewOptions class instance and pass it to the Viewer.View method to convert an image to PDF. The PdfViewOptions class properties allow you to control the conversion process. For instance, you can protect the output PDF file, reorder its pages, and specify the quality of document images. Refer to the following documentation section for details: Rendering to PDF.
using GroupDocs.Viewer;
using GroupDocs.Viewer.Options;
// ...

using (var viewer = new Viewer("vector-image.svg"))
{
    // Create a PDF file.
    var viewOptions = new PdfViewOptions("output.pdf");
    viewer.View(viewOptions);
}
Imports GroupDocs.Viewer
Imports GroupDocs.Viewer.Options
' ...

Module Program
    Sub Main(args As String())
        Using viewer = New Viewer("vector-image.svg")
            ' Create a PDF file.
            Dim viewOptions = New PdfViewOptions("output.pdf")
            viewer.View(viewOptions)
        End Using
    End Sub
End Module
The following image demonstrates the result:
Create a PngViewOptions class instance and pass it to the Viewer.View method to convert an image to PNG. Use the PngViewOptions.Height and PngViewOptions.Width properties to specify the output image size in pixels.
using GroupDocs.Viewer;
using GroupDocs.Viewer.Options;
// ...

using (var viewer = new Viewer("vector-image.svg"))
{
    // Create a PNG image.
    var viewOptions = new PngViewOptions("output.png");
    // Set width and height.
    viewOptions.Width = 1600;
    viewOptions.Height = 900;
    viewer.View(viewOptions);
}
Imports GroupDocs.Viewer
Imports GroupDocs.Viewer.Options
' ...

Module Program
    Sub Main(args As String())
        Using viewer = New Viewer("vector-image.svg")
            ' Create a PNG image.
            Dim viewOptions = New PngViewOptions("output.png")
            ' Set width and height.
            viewOptions.Width = 1600
            viewOptions.Height = 900
            viewer.View(viewOptions)
        End Using
    End Sub
End Module
The following image demonstrates the result:

Create a JpgViewOptions class instance and pass it to the Viewer.View method to convert an image to JPEG. Use the JpgViewOptions.Height and JpgViewOptions.Width properties to specify the output image size in pixels.
using GroupDocs.Viewer;
using GroupDocs.Viewer.Options;
// ...

using (var viewer = new Viewer("vector-image.svg"))
{
    // Create a JPEG image.
    var viewOptions = new JpgViewOptions("output.jpg");
    // Set width and height.
    viewOptions.Width = 1600;
    viewOptions.Height = 900;
    viewer.View(viewOptions);
}
Imports GroupDocs.Viewer
Imports GroupDocs.Viewer.Options
' ...

Module Program
    Sub Main(args As String())
        Using viewer = New Viewer("vector-image.svg")
            ' Create a JPEG image.
            Dim viewOptions = New JpgViewOptions("output.jpg")
            ' Set width and height.
            viewOptions.Width = 1600
            viewOptions.Height = 900
            viewer.View(viewOptions)
        End Using
    End Sub
End Module
When you render a PSD file with custom fonts, you can specify a folder that contains necessary fonts to prevent font substitution during rendering. To do this, follow the steps below:
Create a FolderFontSource class instance and specify a path to the folder that stores custom fonts. Pass a SearchOption enumeration member to the class constructor to define the search scope. The following options are available:
TopFolderOnly—Searches for the fonts only in the current folder.AllFolders—Searches for the fonts in the current folder and its subfolders.
Call the FontSettings.SetFontSources static method and pass the specified font source to this method as a parameter. This method allows you to specify multiple font sources.
You can also set the ViewOptions.DefaultFontName property to specify the default font that should be used when a particular font is not found.
using GroupDocs.Viewer;
using GroupDocs.Viewer.Fonts;
using GroupDocs.Viewer.Options;
// ...

// Specify a folder that stores custom fonts used in a PSD file.
var fontSource = new FolderFontSource(@"C:\custom_fonts_folder", SearchOption.AllFolders);
FontSettings.SetFontSources(fontSource);

using (var viewer = new Viewer("sample.psd"))
{
    // Convert a PSD file to PNG.
    var viewOptions = new PngViewOptions("output.png");
    // Specify the default font that should be used to replace missing fonts.
    viewOptions.DefaultFontName = "Arial";
    viewer.View(viewOptions);
}
Imports GroupDocs.Viewer
Imports GroupDocs.Viewer.Fonts
Imports GroupDocs.Viewer.Options
' ...

Module Program
    Sub Main(args As String())
        ' Specify a folder that stores custom fonts used in a PSD file.
        Dim fontSource = New FolderFontSource("C:\custom_fonts_folder", SearchOption.AllFolders)
        FontSettings.SetFontSources(fontSource)

        Using viewer = New Viewer("sample.psd")
            ' Convert a PSD file to PNG.
            Dim viewOptions = New PngViewOptions("output.png")
            ' Specify the default font that should be used to replace missing fonts.
            viewOptions.DefaultFontName = "Arial"
            viewer.View(viewOptions)
        End Using
    End Sub
End Module
Was this page helpful?
Any additional feedback you'd like to share with us?
Please tell us how we can improve this page.
Thank you for your feedback!
We value your opinion. Your feedback will help us improve our documentation.

