This page describes the installation of the Asian Fonts on Ubuntu 20.04 LTS using the apt-get utility. On the previous versions of Ubuntu, the process is quite the same.
To install Asian Fonts on Ubuntu, follow these steps:
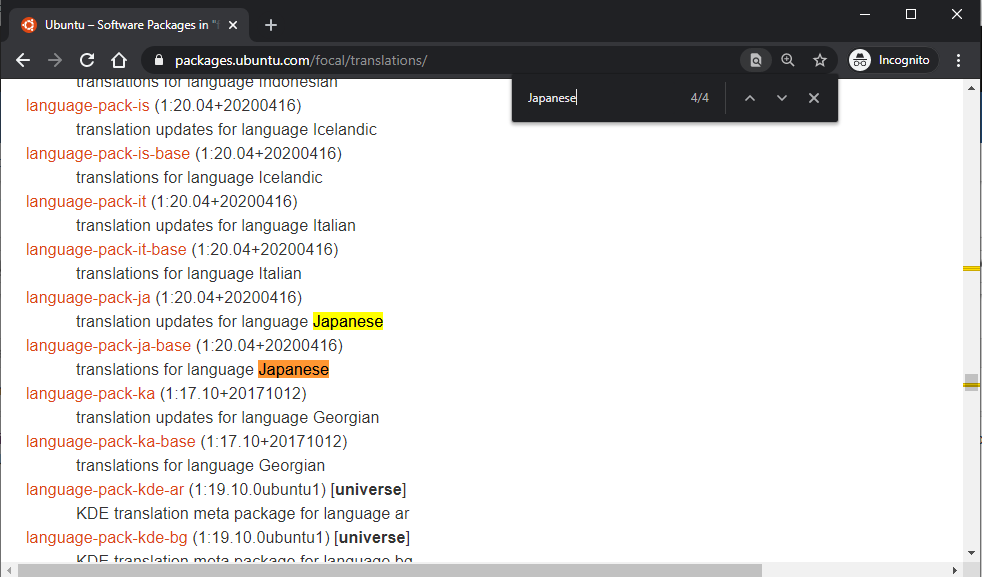
At packages.ubuntu.com/focal/translations/, search for the Japanese language support packages. Find all entries starting with “language-pack-” and containing “Japanese” as follows:
Install the language-pack-ja package. The language-pack-ja-base package is installed automatically as first one depends on it.
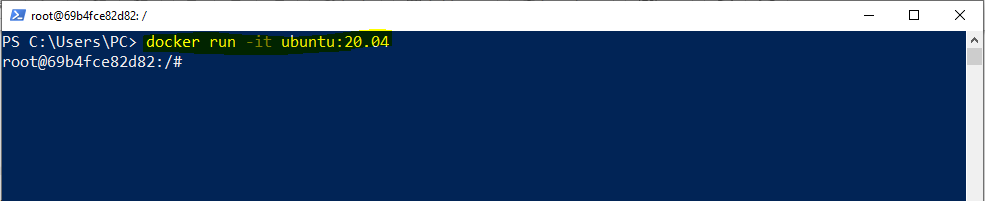
Run Ubuntu in a Docker container:
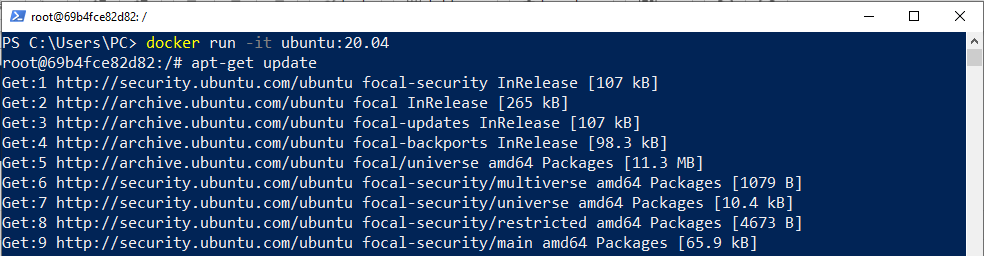
Execute the following command to update the packages list with updates and new packages:
apt-get update
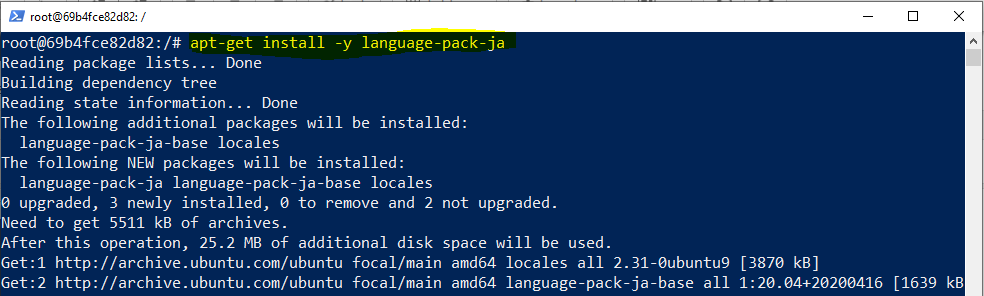
Excecute the following command to install the Japanese language support:
apt-get install -y language-pack-ja
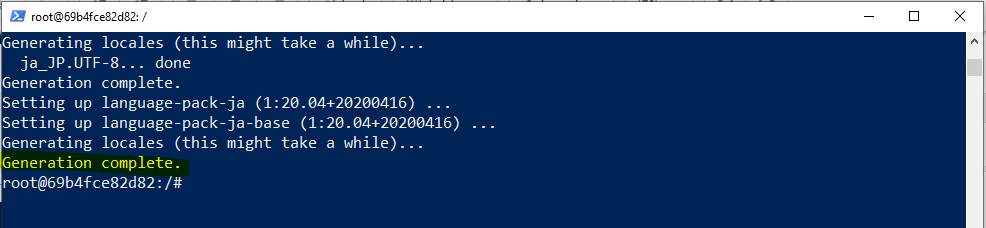
Wait for the message “Generation complete.”
To install other Asian languages, use the following commands: